 Moving Services
 Packing Services
 Specialty Services


 Flexible Storage
 Smart Storage
 Tailored Storage
 Boxes
Boxes Packing Supplies
  Moving Essentials



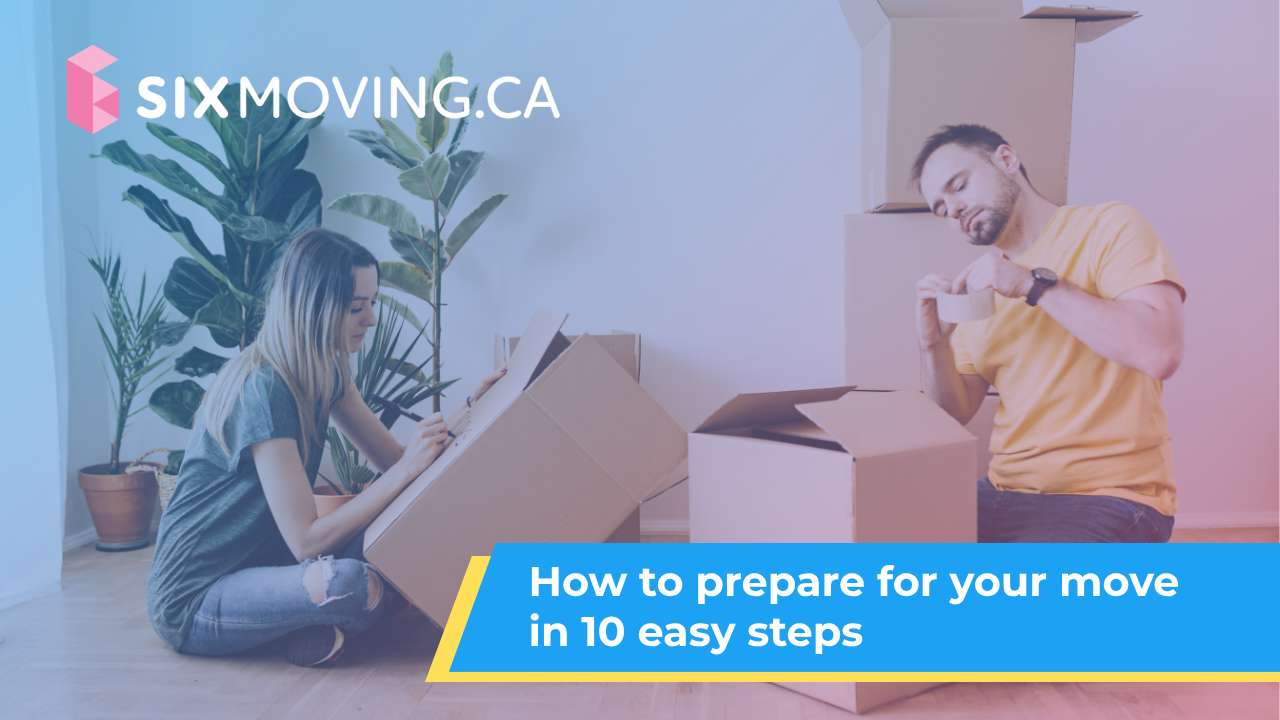
How to prepare your move in 10 easy steps!
Packing up your home does not have to be overwhelming. With the right supplies, a solid plan, and a bit of patience, you can get your entire house packed and ready for moving day without losing your mind. Whether this is your first move or your fifth, these ten steps will walk you through the process from start to finish, so nothing gets missed or damaged.
Step 1: Get your packing supplies together
Before you pack a single thing, make sure you have everything you need. Running out of tape or bubble wrap halfway through is a guaranteed way to lose momentum. Start gathering supplies at least three to four weeks before your move so you are not scrambling at the last minute.
Here is what you will want to have on hand:
- Moving boxes in small, medium, and large sizes
- Clear packing tape and a tape gun
- Bubble wrap
- Packing paper
- Markers and labels
- Wardrobe boxes for hanging clothes
- Mattress covers
- Glass dividers for stemware and dishes
Not sure how many boxes you will need?
Check out our supply calculator to get an estimate, or take a look at our boxes guide to figure out exactly what you need before you buy. At Six Moving, we carry a full range of Canadian-made packing supplies and can help you estimate exactly what you need for your move. Free delivery on supplies is available within Toronto.
Step 2: Declutter before you pack
Moving is one of the best opportunities you will ever have to clear out things you no longer need. Before you start packing, go room by room and sort your belongings into three piles: keep, donate, and dispose. The less you move, the less you pay, since most Toronto movers charge by the hour.
Items in good condition can be donated to Habitat for Humanity ReStore, the Salvation Army, or Value Village. You can also sell items through Facebook Marketplace, Kijiji, or Karrot to offset some of your moving costs.
Step 3: Set up a packing zone and label as you go
Pick an area of your home with enough floor space to work comfortably, somewhere you can spread out, stack boxes, and move around easily. As you fill and seal each box, label it immediately with two pieces of information: the room it belongs to and a brief description of its contents. For example: Room: Kitchen, Contents: Mugs and Glasses.
Do not save the labelling for later. Doing it as you go keeps things organized and saves you a huge amount of confusion at the other end. Colour-coded labels for each room are an even better system if you want to make things easier for your movers.
Step 4: Pack heavy and fragile items in small boxes
This is one of the most important rules of packing, and one of the most commonly ignored. Small boxes are designed for heavy or fragile items, such as dishes, glasses, books, shoes, canned goods, and similar items. A small box packed with heavy items stays manageable to lift and is much less likely to break open in transit.
Always start each box with a layer of crumpled packing paper at the bottom. This creates a cushion that protects your items and keeps them clean if the box gets dirty during the move. Wrap fragile items individually in packing paper or bubble wrap before placing them in the box, and fill any gaps with extra paper to prevent shifting.
Step 5: Use medium boxes for everyday items
Medium boxes are the workhorses of a move. They are large enough to fit a good amount but small enough to stay manageable when full. A three-cubic-foot box is a good standard size for this category.
Good items for medium boxes include pots and pans, trays, toys, games, small appliances, folded clothing, and larger lampshades. When packing small appliances, wrap each one individually in bubble wrap and keep all cords and components together inside the same box so nothing gets separated.
Step 6: Reserve large boxes for light, bulky items
Large boxes are designed for items that take up a lot of space but weigh little. Think pillows, duvets, towels, linens, and bulky clothing. Resist the temptation to fill a large box to the brim with heavy items. An overpacked large box becomes extremely difficult to carry and is more likely to fail at the bottom. If it feels too heavy to lift comfortably, it is too heavy.
Six Moving carries five and six-cubic-foot boxes in our Box Shop, which are ideal for bedding, winter coats, and other large, lightweight items.
Step 7: Pack room by room, starting with the kitchen
Working room by room keeps you focused and makes unpacking at the other end much more straightforward. The kitchen is the best place to start because it tends to have the most items that require careful packing.
A few kitchen-specific tips: use your own food storage containers to pack loose or small items, wrap each plate individually and pack them vertically rather than flat to reduce the risk of cracking, and use glass dividers for stemware and fragile glasses. Pack your everyday dishes last since you will likely still need them in the days leading up to your move.
Work through the rest of your home one room at a time: bedrooms, living areas, bathrooms, and finally the spaces you use daily. Leave essentials like toiletries, chargers, and a change of clothes out until the very last moment and pack them in a clearly labelled essentials bag or box.
Step 8: Stack, count, and communicate
As you seal and label each box, stack them against a wall to free up floor space and keep things tidy. Count your boxes as you go. If you end up with significantly more than you originally estimated, let your moving company know as soon as possible. A larger volume of boxes may require a bigger truck, and giving your movers advance notice avoids any surprises on moving day.
At Six Moving, your moving coordinator is always available to help you adjust your booking if your needs change.
Step 9: Do a full sweep of every room
Before you call it done, walk through every single space in your home and check the spots people most commonly forget. These include under the bed, in the attic, in the shed or storage locker, in the garage, on the patio, inside the dishwasher, inside the washing machine and dryer, and in bathroom cabinets.
Open every cupboard, drawer, and closet. Look in every corner. It is far easier to catch something now than to realize after the truck has left that something got left behind. Six Moving always does a final walkthrough with you before the truck pulls away, but the more thorough you are in advance, the smoother things will go.
h2>Step 10: Minimize loose items
Loose items are anything that cannot fit into a box, such as brooms, mops, floor lamps, vacuums, golf bags, skis, bikes, and gardening tools. Every loose item has to be carried individually, which means extra trips between your home and the truck and extra time on the clock.
Wherever possible, bundle similar items together. Tape long-handled items, like brooms and rakes, into a group so they can be carried together. Place bags and backpacks side by side so several can be grabbed at once. For unusually shaped items that are hard to protect, ask us about custom box options. Six Moving can build a custom box for larger or oddly shaped belongings.
Related Resources
Looking for more moving tips? Explore our full blog library or visit our resource hub to discover how to make your next move easier.